Auto-Darkening Welding Helmets: Expert Guide 2026
Why do auto-darkening lenses matter for welders?

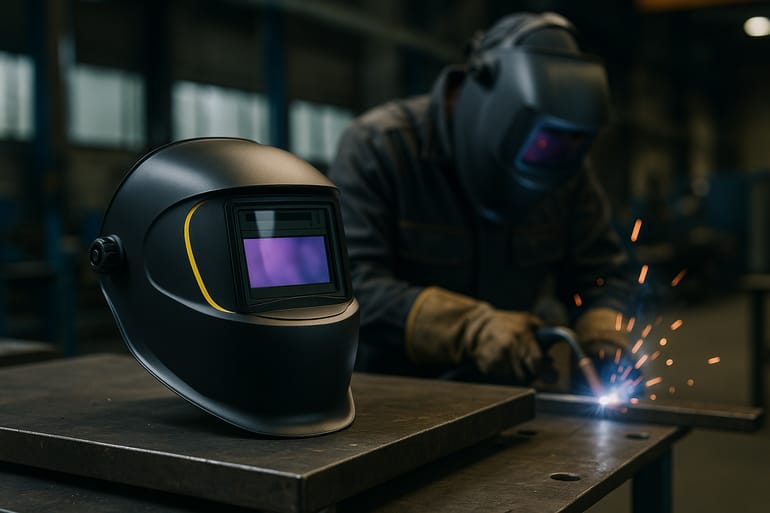
Faster protection, fewer errors
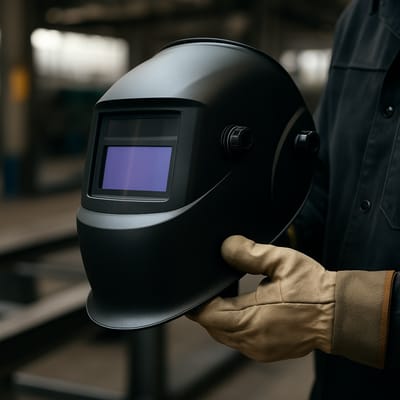
An auto-darkening welding helmet protects your eyes the instant an arc strikes—no head‑nod, no flipping a passive lens. The auto-darkening lens stays light for setup and positioning, then switches to the selected shade in milliseconds, improving accuracy and reducing rework.
Benefits that add up on the shop floor
- Consistent eye protection: UV/IR protection is always on, even when the lens is light.
- Higher productivity: Keep both hands on the work; no flipping the hood.
- Less neck strain: No nodding to drop the lid before every tack.
- Fewer mis-strikes: Clear view while fitting and aligning parts.
What this guide covers
You’ll learn which ANSI Z87.1 and EN 379 requirements matter, how to compare reaction speed, sensors, and shade range, and how to choose settings for MIG, TIG, and Stick. We’ll also cover comfort, PPE integration, and budget tiers so you can spec an auto-darkening welding helmet that boosts safety and throughput across shifts.
Which standards should your helmet meet (ANSI/EN)?
Compliance essentials for safety managers
For North America, look for ANSI Z87.1-2020 markings on the shell and lens. Impact‑rated models carry Z87+. In Europe, the auto‑darkening filter itself is certified under EN 379, with an optical clarity score (e.g., 1/1/1/1 is best). A compliant auto-darkening lens ensures reliable protection and documentation for audits.
What to verify on the label/spec sheet
- ANSI Z87.1: Eye/face protection; Z87+ indicates high‑impact durability.
- EN 379: Optical quality with four numbers: optical class, diffusion, luminous transmittance variation, angle dependence.
- Shade markings: Variable range (e.g., DIN 5–13) printed on the lens.
- Manufacturer/lot info: Aids traceability and recordkeeping.
Why it matters
Non‑compliant gear risks injuries, downtime, and citations. Standards ensure tested UV/IR filtering, impact resistance, and predictable switching performance. Build compliance into your purchasing workflow: request certificates, record model and lot numbers, and keep spare compliant cover lenses on hand to maintain clear vision and consistent protection.
Auto-darkening lens specs to compare before you buy
Critical ADF features and how they affect work
- Switching speed: Typical 1/10,000–1/25,000 s. Faster means less arc flash risk and less eye fatigue—vital for frequent tacking.
- Sensors (2–4): More sensors improve detection at awkward angles or when one sensor is blocked. Low‑amp TIG benefits from 3–4 sensors.
- Shade range: Variable DIN 9–13 suits most MIG/Stick; DIN 5–13 adds plasma/cutting flexibility. A reliable auto-darkening welding helmet lets you fine‑tune to the process.
- Sensitivity & delay: Sensitivity helps with low‑amp TIG or high‑ambient light; delay controls how quickly the lens returns to light, preventing flicker on hot work.
- Optical clarity (EN 379): Aim for 1/1/1/1 for crisp edges and less eye strain during precision work.
- Viewing area: Larger windows improve visibility but may add weight; balance with task needs.
- Power: Replaceable batteries with solar assist reduce downtime. Check for low‑battery indicators and auto‑off.
Bottom line
Match switching speed, sensor count, shade range, and clarity to your processes. A well‑chosen auto-darkening lens boosts accuracy and protects vision through long shifts.
MIG, TIG, Stick: the right shades and settings that work
Process-specific guidance
- MIG (GMAW): Start at DIN 10–12; increase shade for higher amperage/spray transfer. Use medium delay to avoid flicker on hot parts.
- Stick (SMAW): DIN 10–12 covers most rods. Prioritize faster switching (1/20,000 s or better) to reduce arc flash on repeated strikes.
- TIG (GTAW): For low‑amp stainless/aluminum, choose high‑sensitivity ADFs with 3–4 sensors. Shades DIN 8–11 depending on amperage; fine delay prevents premature lightening between pulses.
- Plasma/cutting: A DIN 5–8 range is helpful for cutting and gouging.
Features that reduce errors
- Grind mode (shade 3–4): Lets you prep and finish without removing your hood; ensure an external grind switch to avoid accidental arc strikes in grind mode.
- Memory presets: Store favorite shade/sensitivity/delay for each process.
- Cover lenses: Keep spares; a scratched cover lens reduces clarity and causes glare.
Dial in your auto-darkening welding helmet per process to minimize rework, improve bead quality, and protect eyes during long production runs.
Comfort, fit, and PPE integration for all-day wear
Ergonomics that keep teams productive
- Weight & balance: Lighter shells reduce neck fatigue; balanced designs sit close to the center of gravity, limiting strain.
- Headgear adjustability: Ratcheting bands, fore/aft crown settings, and tilt adjustments stabilize the hood during out‑of‑position work.
- Viewing area & profile: Bigger windows aid visibility; a compact profile helps in tight fixtures.
- Sweatbands & liners: Washable pads improve hygiene across shifts.
Compatibility with other PPE
- Hard hat adapters: Confirm your helmet accepts common adapters if overhead protection is required.
- Respirator clearance: Check chin/neck space and seal compatibility; some shells are designed to pair with powered air units.
- Glove-friendly controls: External shade/grind switches speed up changeovers.
Comfort and integration aren’t nice‑to‑haves—they directly affect arc time and quality. A well‑fitting auto-darkening lens setup helps welders maintain posture, see the joint clearly, and stay protected without constant adjustments.
Budget vs premium: what to prioritize (+ free checklist)
Choose the right tier for your workload
- Entry (≈ $120–$200): Variable shade 9–13, 2 sensors, basic headgear. Best for intermittent welding.
- Mid-range (≈ $250–$500): Faster switching, 3–4 sensors, larger view, better headgear. Suits daily MIG/Stick and moderate TIG.
- Premium (≈ $500+): Top 1/1/1/1 clarity, industry‑fast switching, wide shade 5–13, advanced ergonomics, PAPR compatibility.
What drives total cost of ownership
- Cover lens & battery costs (and availability)
- Warranty length and turnaround time
- Spare parts (headgear, ADF cassette) and serviceability
- Durability of shell, hinges, and external controls
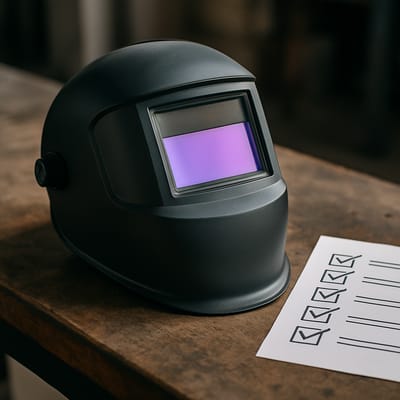
Next steps
Use our Buyer’s Checklist to compare standards, optical clarity, sensors, shade range, and PPE fit across candidates. Share it with your team, shortlist models, then request quotes to align pricing, warranty, and delivery with your production schedule. The right auto-darkening welding helmet pays back through fewer defects, less fatigue, and higher arc‑on time.