Trials Helmet Buying Guide: Choose the Right Fit 2026
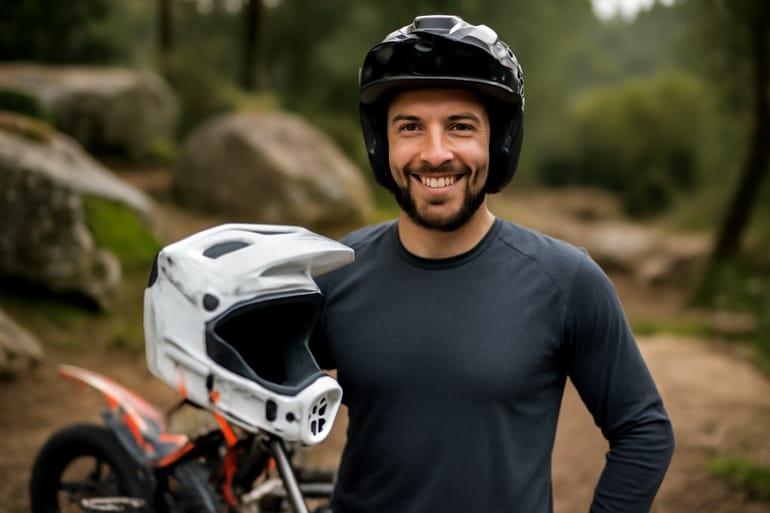
Why trials riding needs a different helmet

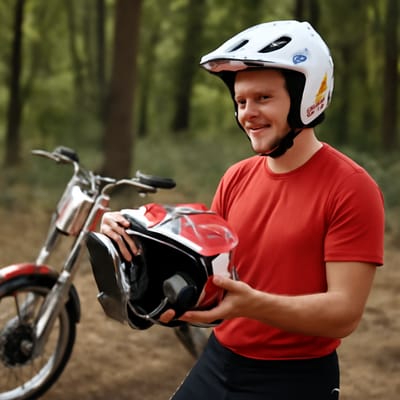
This trials helmet buying guide helps you pick a lid built for balance, precision, and long sections—not highway speed. Trials riding is slow, technical, and sweaty. That means lightweight construction, generous ventilation, and a dialed fit matter more than wind noise and high‑speed aerodynamics. A good trials helmet stays cool while you hop, pivot, and dab—without tugging your neck or blocking your view.
What you’ll learn
- How a trials helmet differs from a street lid
- Target weights and materials for all‑day comfort
- How to measure and fit for secure retention
- Key safety standards (e.g., ECE 22.06) and features to prioritize
- Budget tiers and value picks without brand bias
If you occasionally connect sections on public roads, ensure your helmet carries a recognized certification (like ECE 22.06 or DOT) appropriate for your region. Fit comes first, then weight, then features. Keep your own terrain in mind: dry rock gardens, muddy courses, or mixed-use practice days may shift your priorities. By the end, you’ll know exactly what to look for—and what to skip—so your trials helmet disappears on your head and lets you focus on the next clean.
Street vs trials: what really changes in a helmet?
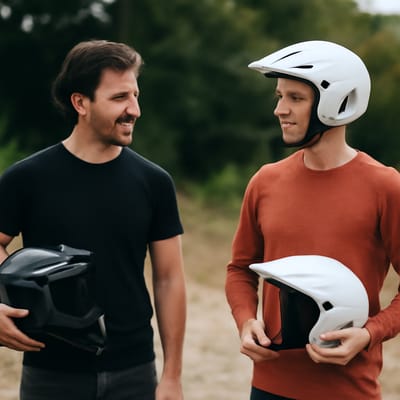
Trials and street helmets solve different problems. Knowing the differences helps you make smarter choices.
Key differences
- Shell shape & peak: Trials lids often use a short peak to block sun and rain without catching branches. Street helmets focus on sleek aerodynamics.
- Eye port & goggles: Big eye ports accept goggles for sweat and dust control; street lids rely on a visor. Check goggle compatibility.
- Ventilation: Trials favors wide, direct airflow for low‑speed cooling. Street helmets manage high‑speed flow and noise.
- Weight: Trials targets minimal weight to reduce neck fatigue during slow, technical moves; street lids can be heavier due to visors and sound damping.
- Noise & aero: Low priority for trials. Stability at 100+ km/h isn’t the goal.
- Safety labels: Look for ECE 22.06/DOT where required, especially if you ride on-road between sections.
- Mud management: Removable liners, simple contours, and easy‑to‑clean vents help after messy practice days.
Bottom line: a trials helmet trades highway features for visibility, cooling, and balance. If your riding is 90% sections, pick trials‑specific design. If you also do road miles, consider a crossover model that keeps weight down but remains street‑legal.
How light is light enough for trials riding?
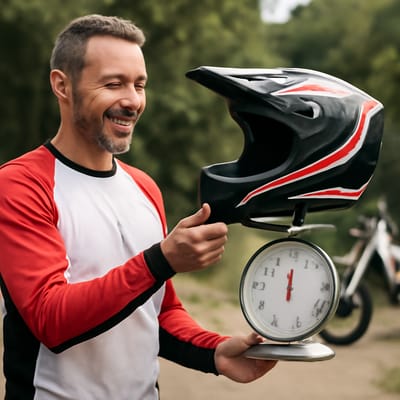
Weight is the fatigue multiplier. Every gram shows up in your neck after hours of balancing and hopping.
Target weights and materials
- 900–1,200 g: Typical for quality open‑face trials lids. Sub‑1,050 g feels noticeably airy.
- Materials: Polycarbonate (value), fiberglass composite (strong balance), carbon fiber (lightest, pricier). Multi‑density EPS is a plus for impact management.
Comfort beyond the scale
- Balance matters as much as total grams. A well‑balanced 1,100 g helmet can feel lighter than a nose‑heavy 1,000 g.
- Big vents and moisture‑wicking liners keep sweat under control at walking speeds.
- Don’t chase grams at the expense of fit or certification. A lighter shell that moves on your head is a liability.
Quick checks:
- Weigh with peak and hardware installed. 2) Shake‑test: with the strap snug, the helmet should not rotate. 3) Hold a track stand for 30 seconds—any neck strain hints the helmet is too heavy or poorly balanced.
Choose the lightest trials helmet that fits perfectly, breathes well, and meets the standard your events or roads require.
Nail the fit: sizing, retention, and goggle seal
Great ventilation won’t help if your helmet shifts during a hop. Start with accurate measurements, then fine‑tune.
Sizing steps
- Measure head circumference above the brows. Compare to the maker’s chart.
- Try the smaller of two sizes if you’re in between—liners bed‑in slightly.
- Aim for snug cheeks and firm crown contact with no pressure points after 10 minutes.
Retention systems
- Double‑D ring: Simple, secure, widely accepted in competition.
- Micrometric ratchet: Fast one‑hand closure; verify event rules if you compete.
Goggle and peak setup
- Test with your goggles: straps should sit flat, foam should seal without lifting the helmet.
- Adjust peak angle so it shades without blocking upward vision on steep climbs.
Checklist: With the strap fastened, push up/back—the trials helmet shouldn’t roll. Open and close your jaw; cheeks should resist but not hurt. If hotspots appear, try different pads or the next shell shape. Prioritize a secure, stable fit over features you can add later.
Safety, features, and budget: what to prioritize
Trials speeds are low, but tip‑overs happen. Pick proven protection first, then add comfort features.
Safety and certifications
- Look for ECE 22.06 (or your region’s equivalent) when riding public roads or sanctioned events.
- Favor breakaway peaks and multi‑density EPS. Some models include rotational‑impact solutions.
Features that matter
- Deep, easy‑wash liners; big, clog‑resistant vents; spare peaks and pads for quick refreshes.
- Broad eye port for goggles; trim and shell that won’t snag on branches.
Price ranges (typical)
- Entry (<$150/€150): Heavier shells, basic vents, still fine for practice if certified.
- Mid ($150–$300/€): Better ventilation, weight, and liners—the sweet spot for most.
- Premium ($300–$600/€+): Carbon builds, lowest weights, top cooling, extra comfort.
Next steps: Use our 1‑page Trials Helmet Checklist (fit, weight, vents, seal, standard) to shortlist options, then compare 3–5 lightweight picks side by side. Ready to decide? Request sizing help, sign up for deals and new arrivals, and follow through with a confident purchase that matches your sections and skill growth.