Bluetooth Headset Compatibility: Buying Guide 2026
Why Bluetooth compatibility varies between helmets

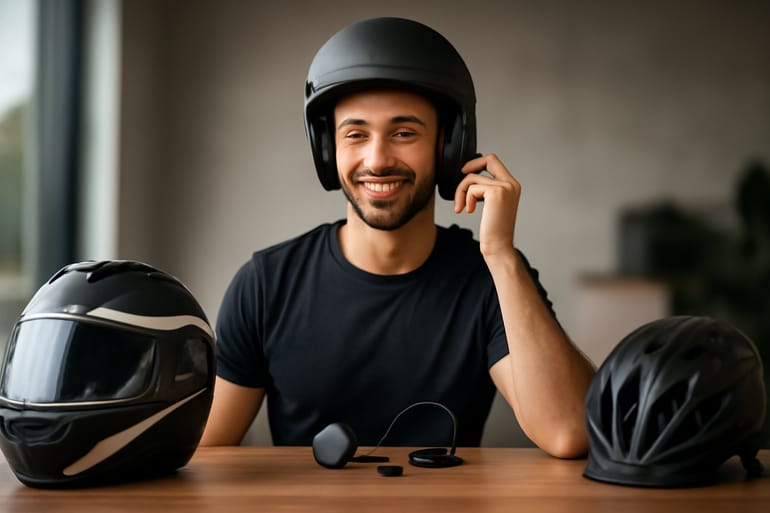
Bluetooth headset compatibility depends on helmet type and design. Even popular lids differ in shell shape, liner layouts, and trim details that affect mounting, speaker placement, and mic performance.
Key factors to check first
- Mounting surface: A smooth, flat rim near the left side makes clamp or adhesive plates easier to secure. Deep curves or thick trim can complicate installs.
- Speaker recesses: Newer ECE 22.06 helmets often include speaker pockets; older or ultra‑slim retro shells may not. Without pockets, pressure points and hot spots are common.
- Liner access: Removable cheek pads and crown liners simplify cable routing. Fixed liners limit options and can pinch wires.
- Noise environment: Open‑face and half helmets expose the mic to wind; full‑face lids protect audio but can amplify boom mic touches.
What this guide covers
You’ll learn how to assess helmet fit for Bluetooth headsets, a step‑by‑step install process, and pros/cons of clamp vs adhesive vs drop‑in units. We’ll also troubleshoot common pain points like speaker buzzing, mic wind noise, and battery access. By the end, you’ll know how to match your helmet to a setup that keeps retro style intact while delivering clear audio on the road.
Which helmet types work best with Bluetooth headsets?
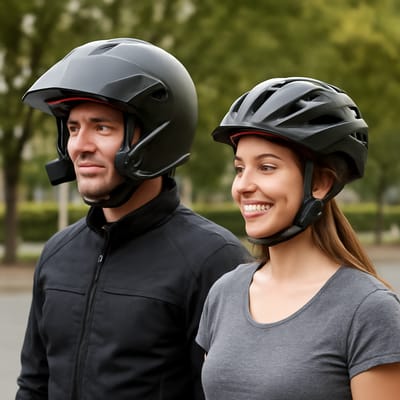
Not all shells accept intercoms equally. Understanding helmet types helps predict Bluetooth headset compatibility before you buy.
Full‑face
- Usually the easiest fit: stable mounting surface, protected boom or wired mic, and frequent speaker pockets.
- Watch for tight ear cavities; choose slim speakers (32–40 mm).
Modular (flip‑up)
- Great for comfort; route a wired mic inside the chin bar or use a short boom.
- Check hinge clearance so the clamp plate doesn’t interfere with the flip‑up mechanism.
Open‑face / Jet
- Classic cafe looks, but wind exposure hurts mic clarity. Use a long boom mic with foam + windshield, and consider adhesive mounts on curved rims.
Dual‑sport / Visor peak
- Peaks can add turbulence; place the mic away from direct vents and pick speakers with solid foam spacers for ear alignment.
Half helmets
- Minimal coverage limits mounting and acoustics. Look for low‑profile, drop‑in or strap‑mounted solutions and accept reduced audio fidelity.
Tip: If your helmet lacks pockets, add thin spacers to bring speakers closer to your ears without creating pressure points. This simple upgrade often transforms comfort and clarity.
How to install a helmet intercom step by step

Follow this quick process to maximize Bluetooth headset compatibility and avoid common fit issues.
Step‑by‑step
- Test fit off‑helmet: Power the unit, pair a phone, and confirm both speakers work.
- Plan placement: Sit on the bike, reach for the left side. Mark a spot you can hit with gloves without twisting your wrist.
- Mount plate: Use a clamp if the rim is flat and thin; use adhesive on thick trim or curved shells. Clean with isopropyl alcohol; warm the tape for best bond.
- Route wires: Tuck above the EPS, not across it. Use liner channels; avoid sharp edges to prevent cable wear.
- Speakers: Place centered over the ear canal. Add foam spacers until sound is full and the liner closes without pressure.
- Microphone: Full‑face = wired or short boom near the mouth; open‑face = longer boom with dual windscreens.
- Reassemble & test: Check volume, intercom range, and glove access. Verify the chin bar closes (modular) and visor clears the mount.
- Road check: At 50–80 km/h, fine‑tune mic angle and enable noise control features.
Note: ECE 22.06 shells often have thicker EPS. Do not cut foam; re‑position or use slimmer hardware instead.
Clamp vs adhesive vs drop‑in: choose the right mount

Picking the right mounting style is the fastest way to improve Bluetooth headset compatibility and long‑term comfort.
Clamp mounts
- Pros: Strong, removable, ideal on flat rims; stable button feel with gloves.
- Cons: Struggles with thick trim; may clash with modular hinges.
- Best for: Full‑face and many classic jet helmets with a defined edge.
Adhesive plates
- Pros: Works on curved shells, no rim gap required; very low profile.
- Cons: Surface prep critical; cold weather weakens bond until the tape cures.
- Best for: Retro shells with rounded sides or rubber beading.
Drop‑in/low‑profile kits
- Pros: Minimal visual bulk, light weight; often include slim speakers.
- Cons: Smaller batteries, fewer hard buttons; depend on voice control.
- Best for: Minimalist aesthetics, half helmets, and tight ear cavities.
Price cues: Clamp/adhesive “universal” kits tend to offer stronger range and battery life; low‑profile kits trade endurance for stealth. Match the mount to your shell shape first—features only matter if the unit fits securely.
Fix fit, wind noise, and battery access issues fast

A few tweaks solve most problems after installation—and they’re key to real‑world Bluetooth headset compatibility.
Comfort and audio clarity
- Ear pain: Re‑center speakers and add thin spacers until they touch the liner fabric without pressure.
- Tinny sound: Move speakers 2–3 mm closer; small changes make big differences.
- Boom thumps: Secure the mic base under the cheek pad and angle the tip slightly off‑center.
Wind and weather
- Open‑face hiss: Double‑up windscreens and enable noise filtering; keep the mic shielded from direct airflow.
- Peak turbulence: On dual‑sport lids, lower the peak or shift the mic behind a vent rib.
- Rain ride: Use grommets on cable exits and confirm the charge port cover seals fully (IP rating matters).
Power and controls
- Short battery life: Lower intercom volume, disable unused features, and top up via a short USB lead before rides.
- Glove access: Prioritize big, tactile buttons or reliable voice control—whatever you can operate without looking.
Want a printable install checklist and headset setup tips? Join our newsletter for updates on helmet tech and links to neutral, side‑by‑side buying guides.