Motocross vs Off-Road Helmets: Key Differences 2026
What truly separates motocross and off-road helmets?
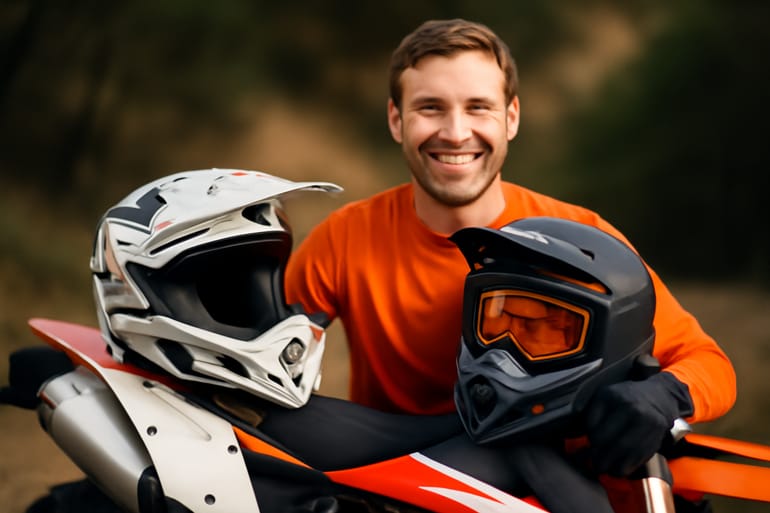
Choosing between a motocross vs off-road helmet can feel confusing because both are built for dirt. The main differences live in their design priorities: high-vent, lightweight performance for track sprinting versus broader versatility for trails and enduro. You’ll see this in shell shape, ventilation, eyeport size for goggles, and comfort features.
Core distinctions you’ll notice
- Eyeport & chin bar: MX lids often have an extra-wide eyeport and roomy chin bar to boost airflow at race pace.
- Peaks and roost protection: Aggressive peaks shield from roost and low sun; off-road versions may be slightly longer for slower terrain.
- Weight & airflow: Motocross helmets bias toward lighter weight and maximum venting; off-road models balance airflow with dust and cold-weather comfort.
- Safety standards: Look for current labels like ECE 22.06 or DOT and features such as rotational-energy liners and emergency cheek-pad release.
If your time is split between track motos and woods singletrack, you’ll want to match the motocross vs off-road helmet profile to your use case. This guide breaks down design, safety, goggle compatibility, and sizing so you can pick the right lid with confidence.
Design, safety, ventilation: key differences that matter
Design and fit priorities
- Shell shape & peak: MX shells cut wind at speed with shorter peaks; off-road peaks may be longer for low-speed shade and roost deflection.
- Eyeport & goggle room: Motocross lids favor a larger eyeport for better goggle sealing and peripheral vision on jumps and whoops.
- Chin bar airflow: MX chin bars are often more open for sprint cooling; off-road versions may temper airflow to reduce dust.
- Liner comfort: Off-road helmets sometimes feature plusher liners and better dust management for long days.
Safety and construction
- Certifications: Prioritize modern labels like ECE 22.06/DOT. ECE 22.06 adds tougher impact and rotational tests.
- Impact systems: Look for multi-density EPS and rotational-energy management. Emergency releases aid safe removal.
- Materials: Polycarbonate (value), fiberglass composites (balanced), carbon blends (lightweight).
Ventilation and noise
- MX: Maximum venting for intense bursts; can be noisier and colder on long, slow rides.
- Off-road: More balanced venting to handle technical climbs, dust, and weather shifts.
Bottom line: pick the profile that fits your riding rhythm. Track racers lean motocross; trail and enduro riders often prefer off-road balance.
Which helmet for track, trail, enduro, and desert riding?

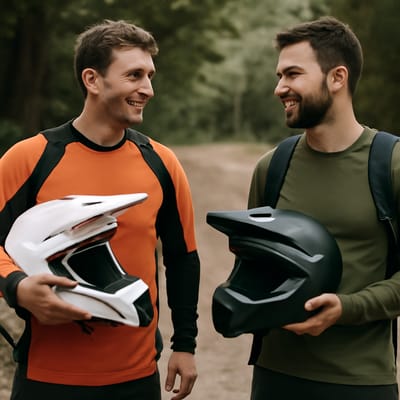
Match your terrain and pace before you decide on a motocross vs off-road helmet.
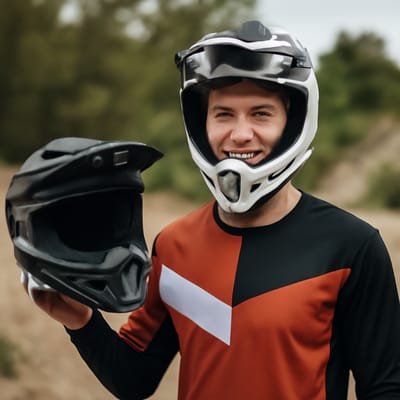
- MX track and arena: Choose a lightweight, highly vented motocross helmet with a large eyeport for a tight goggle seal and excellent peripheral vision. Priority: cooling, roost protection, emergency releases.
- Woods singletrack / technical enduro: Opt for an off-road helmet with balanced ventilation, a slightly longer peak, and plush liner comfort. Priority: dust management, all-day fit, hydration hose clearance.
- Desert and high-speed two-track: Many riders still go MX for weight and airflow; others prefer off-road lids that calm turbulence and dust. Priority: stable peak, deep goggle seal, anti-fog venting.
- Cold or variable weather: Off-road helmets with controllable vents and breath boxes help manage chill and fog. Priority: adjustable airflow, moisture control.
- Light dual‑sport crossover: If your dirt percentage is high, stay with MX/off-road plus goggles. For frequent pavement, consider an ADV-style helmet with a visor shield (separate category).
Pro tip: carry two goggle lenses—clear and tinted—or a light-reactive lens. The right lens extends the helmet’s range across changing light and dust.
Sizing, goggle fit, and gear integration: how to choose

A perfect fit turns protection into performance—no pressure points, no goggle gaps. Here’s a quick process to pick the right motocross vs off-road helmet.
Fit and sizing steps
- Measure head circumference at brow; check each brand’s chart.
- Head shape: Match round/neutral/long-oval to reduce hot spots.
- Snug test: Firm cheeks, no forehead pain; the helmet shouldn’t roll.
- Shake test: Moderate shake without the shell shifting.
- Break-in: Expect slight easing after a few rides.
Goggle compatibility checklist
- Wide eyeport for your frame size
- Nose bridge clearance; no pinch on deep breaths
- Even foam seal around the face
- Strap channel grips the band; peak doesn’t force the strap up
Integration tips
- Hydration: Room to route a hose past the cheek pad.
- Comms/action cams: Flat mount points; note MX noise at speed.
- Neck brace: Shell/peak should clear in attack position.
Ready to decide? Compare entry, mid, and premium options by weight, venting, and safety labels (ECE 22.06/DOT). Then order two sizes—or use a fit guarantee—and test with your goggles at home. Sign up for deal alerts and use a goggle‑helmet compatibility tool if available.